Despite programming has become easier with AI and AI Code Editors, it is still not as straight forward to write an app and deploy to serve users. Building saas in 2024 involves multiple layers of technology stack.
In this post, we look at those technologies you need for building a full stack saas application in 2024.
Contents
Introduction
It’s 2024 and we have a lot of help in programming from AI. Despite that, building a full saas application (even for MVP scale), it is a lot of efforts. Surely, AI will reduce this work, but putting together all the pieces to make a functioning app, is still where you will need experts. In this post, I try to uncover all the things that as an engineer you need to build a web application in 2024.
Depending on your MVP requirements, you can either remove of some these tech from your overall tech stack.
Frontend and Backend
Let’s start with the backbone of the application. Frontend and Backend. Recent progress in frontend frameworks have challenged the usual separation of frontend and backend.
Framework like Remix can be used to build a full stack web application. But of course, you can choose these frameworks based on what you are good at.
There are number of backend frameworks available.
- Python has Django OR Flask.
- Java has Spring Boot.
- Typescript has NestJS or Hapi.
I built Xpenses using NextJS for frontend and NestJS for backend.
A simple tip here is choose the framework that you are comfortable with. This allows the focus is on delivering business value.
Do not get caught up in what framework to use. Once you keep using one techstack, it makes easier and faster to build apps. You can always learn to use different recipes in that techstack.
Load Balancer
A load balancer manages load to the application. Usually request comes to frontend and then frontend routes that traffic to backend through a load balancer. Load balancer acts as a traffic controller.
Load balancer also improves reliability of the application. Most load balancers are prepared to handle spike in traffic. So, they play a key role in a web application.
There are number of options available from cloud providers to free ones. At times, you can also question if you need a load balancer for your MVP application.
But it is always worth to prepare.
- AWS ALB – Application load balancer. If you are using AWS Cloud infrastructure for your backend application, then it makes sense to use AWS ALB.
- NGINX – Free reverse proxy load balancer. It’s lightweight and fast and can be easily configured. The most suitable for MVP application.
- Cloudflare – Cloudflare is easy to set up with DDoS attack protection option. If your application starts to see traffic, this is a great option since it offers security protection as well global traffic CDN network.
Authentication and Authorization
Even when building a MVP app, you will need authentication mechanism. As an engineer, you should take into account basic security measures when building a MVP app.
There are number of options available for login.
- Single Sign On with Gmail
- Auth0 has free plan for SSO. You can always leverage SAML or OAuth protocols.
- Depending on your application, you can use Github OR LinkedIn as signin options.
- Username and Password.
- Some applications offer Magic Link, but I am not a big fan of magic link as it can be easily abused.
On the other hand, there should also be safeguards using permissions. And authorization plays a part. Your backend resources should be protected. A client calling backend APIs need to prove who they are. Most frontend calls backend APIs with expiring Json Web Token (JWT).
CI/CD
Whether you want CI/CD for your MVP or not, is up-to-you. You might not even be writing tests, but if you are then it makes sense to have continuous integration (CI). But you will need continuous deployment (CD) to make it easier to deploy changes as soon as you merge your pull request (PR).
The easiest way to build continuous deployment is to use Github actions. When building xpenses, I used Github action and it made building an app and deploying to remote server easier.
Redis
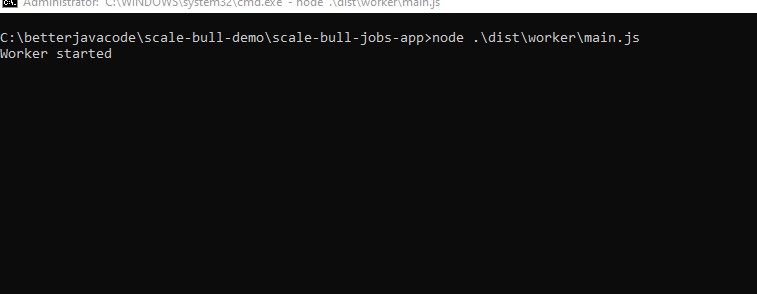
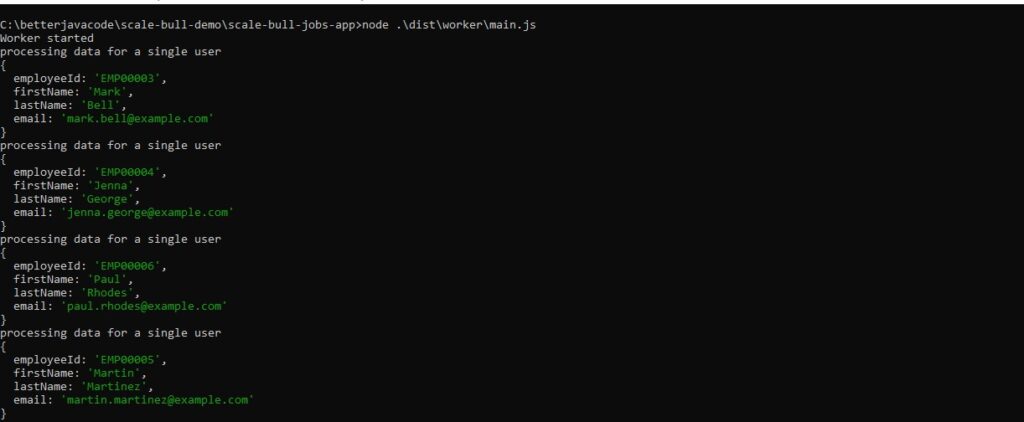
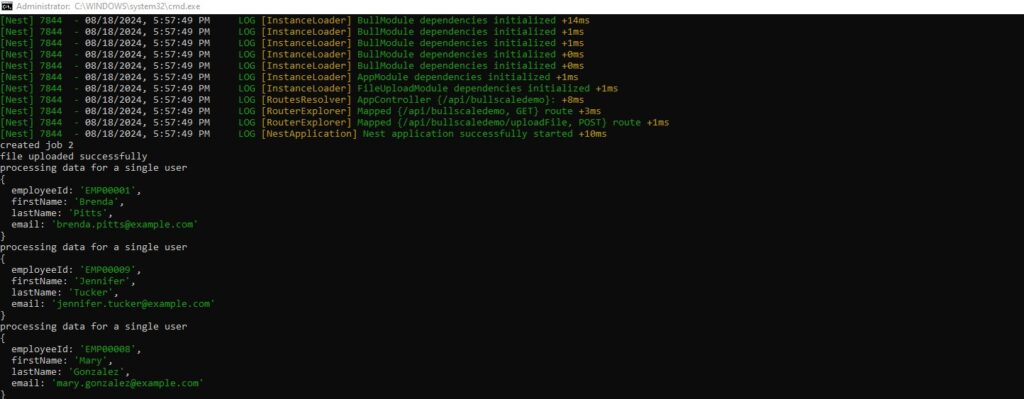
Using redis will depend on if you need cache OR any redis-backed queuing mechanism. I frequently use Bull Queues for NestJS applications.
Redis is also a good option for rate-limiting mechanism.
There are multiple options available where you set up Redis. Railway platform offers standalone app for redis that you can deploy. Fly.io has an option to set up redis when you are setting up server. You can create a digital ocean droplet and you can set up an redis on that server as well.
I have used Digital Ocean droplet for redis for smaller projects. Depending on where you are running your main app, you will need to figure out the networking part between your application connecting to Redis.
Email usage can be contextual for the application. But one way or other, you will have to use email. Email is the standard way to create user account in the application. Whether you use email as username for login will depend on if you use username/password crendetial flow. It’s not the most secure flow, but allows anyone to create account.
Other scenarios where you might need email
- User confirmation
- User notification for various activities within the app
- Sales OR Support questions
Here are few options that I know for setting up email.
- Resend
- Mailtrap
- Mailgun
Handling Bots and Spams
The easiest way to tackle bots is to make a paid app. Once you wall to pay for the app to use it, then free users or bots will be less of a worry. That does not mean you completely block them, but no random user is trying to access your app.
Cloudflare offers an option of bot management.
As far as Spams are concerns, you can embed Recaptcha OR Cloudflare’s turnstile in your public facing forms.
Database
I like relational databases and of course, that comes with my knowledge of SQL. But if you have used NoSQL databases like Mongo, it can also be handy to build a complete web app. Depending on what database you are using, you have multiple options to set up and many of these options have free tier OR free plan. As you start to see the traction for your application, you will need to switch to paid plan.
What database (Relational or non-Relational) to use will depend on what kind of application you are building. In most cases, one type of database will be enough. Postgres supports JSON like objects as well so it can do the same role as Mongo database.
If you need strong consistency for your data, then relational database makes sense. Databases like MySQL and Postgres have been there for more than few decades now, so they are well tested and documented.
Storage Configuration
Some point you will need to store some files or even some data in files. Of course, there can be applications without file storage. If you need file storage, there are a few good options for storage.
- AWS S3 is the most famous one with a neat SDK to use in your code. SDK have well abstracted methods to create/write/read/delete files.
- Google Cloud Storage is also popular choice as it provides resumable upload capabilities.
- Supabase along with database, provides a storage option. It is mostly wrapper over AWS S3.
Pricing and Payments
One of the challenges of building saas application is to figure out the right pricing plan. And even then, there are multiple payment providers to work with. The most popular one is Stripe. Stripe provides its SDK to use for both frontend and backend. Based on your techstack, you will have to use their SDK library in your code.
Whether you are charging one-time payment OR recurring payment, you have an option to use Stripe, Lemon Sequeezy OR Paddle.
Servers
Of course building an app does not come without the infrastructure. The infrastructure for servers. Servers will host your app (for both frontend and backend). I haven’t mostly talked about domain configuration in this post, but many of these services need some tinkering with domain name servers to work correctly. It can be overwhelming if you look at number of services we are using.
In a traditional sense, it would have been easier if you hosted everything on a single or fleet of servers yourself instead of using all these services. You would have needed a server for app, server for database, server for email and then figure out the communication between these servers. One way or other it is challenging.
There are few out of the box products available that make server deploying easier.
- Railway – I really like their product as it comes some of the in-built marketplace to re-use existing infrastructure pieces.
- Digital Ocean – They have one of the cheapest option with droplet for as minimum as $4 per month.
- Fly.io
- Render
Conclusion
Building a Saas in 2024 might not be straight forward, but considering how many services and products we have, it has definitely become cheaper to host. If you are an indie-hacker or bootstrapper who wants to build your own app, this is the best time to build. With AI tools on the rise, building will only get easier. The challenge still remains for distribution.