Heroku is a platform as a service (PAAS) that helps developers to build, deploy, and run applications on a cloud platform. Deploying Spring Boot application to Heroku is a straight forward process. I will describe this process in this post. There are actually multiple ways to deploy a spring boot application. The simplest way to deploy the application is to use maven built jar file and run that jar file on Heroku server.
In my previous post, I showed how to use Spring session in your Spring Boot application.
Before I show one of these two methods to deploy the application, we assume that you have created an account on Heroku.com, if not first please create an account and download Heroku-CLI (Command Line Interface). I also assume that you have git downloaded and installed.
Initial Deployment with Heroku
Once you have Heroku account and Command Line Interface downloaded, let’s start deploying the Spring Boot app with repository.
Create an application directory on your development environment.
git init
git add .
git commit -m "first commit"
Now you can either create an app in Heroku through web-interface OR through Heroku CLI.
heroku create rentersfeedback would create the application in Heroku.
As part of this post, I am deploying an alpha version of my application rentersfeedback.com
Once you add the source code to the directory, we can push the repository to heroku. Every time you push the repository to Heroku, Heroku’s builder will build the application and launch it.
git push heroku master
Despite this initial push, we don’t have the application ready to use yet.
Database Configuration
For this application, I will be using Postgres database. Heroku offers a couple of ways to add database as an add-on.
Once Postgres database is added, go to settings -> view credentials this will provide us database credentials.
Now we can access the database server through pgAdmin Postgres Administration and create database and database tables for our application.
Back in Heroku web-interface, if you go to the application settings page, click on reveal Config Vars and set up the following variables
SPRING_DATASOURCE_URL=
SPRING_DATASOURCE_USERNAME=
SPRING_DATASOURCE_PASSWORD=
SPRING_DATASOURCE_DRIVER-CLASS-NAME=org.postgresql.Driver
SPRING_DATASOURCE_TYPE=org.apache.tomcat.jdbc.pool.DataSource
SPRING_JPA_DATABASE-PLATFORM=org.hibernate.dialect.PostgreSQLDialect
As you can see that we are using datasource type as tomcat jdbc pool and not the standard hikariCP which Spring boot provides. To make sure to work this, we have to add a dependency of tomcat-jdbc as follows:
compile('org.apache.tomcat:tomcat-jdbc:9.0.29')
compile('org.postgresql:postgresql:42.2.8')
If you don’t specify data source type as tomcat-jdbc, Heroku throws an error for Postgres database as below:
Caused by: java.lang.RuntimeException: Driver org.postgresql.Driver claims to not accept jdbcUrl
This will get our Spring Boot app to work with the Postgres database while deploying on Heroku.
Configuration of Gradle to build a jar file
So by default, Heroku supports maven. If you want to use Gradle to build your application, you can use the following guidelines.
Now if you push these changes to heroku and build the application, the application will throw the following error while starting up
2019-11-30T17:05:46.096985+00:00 heroku[api]: Deploy 291326d by xxx@gmail.com
2019-11-30T17:05:46.097021+00:00 heroku[api]: Release v9 created by xxx@gmail.com
2019-11-30T17:05:46.378258+00:00 heroku[slug-compiler]: Slug compilation started
2019-11-30T17:05:46.378269+00:00 heroku[slug-compiler]: Slug compilation finished
2019-11-30T17:05:46.755655+00:00 heroku[web.1]: State changed from crashed to starting
2019-11-30T17:05:53.121398+00:00 heroku[web.1]: Starting process with command `java -Dserver.port=5000 -jar build/libs/myapp.jar`
2019-11-30T17:05:54.260741+00:00 app[web.1]: Error: Unable to access jarfile build/libs/myapp.jar
2019-11-30T17:05:54.784064+00:00 heroku[web.1]: State changed from starting to crashed
2019-11-30T17:05:54.773714+00:00 heroku[web.1]: Process exited with status 1
To resolve this issue, I will add a task in my gradle script that will build a jar file when I deploy the application.
apply plugin: 'java'

task stage(type: Copy, dependsOn: [clean, build]) {
    from jar.archivePath into project.rootDir rename { 'app.jar' }
}

stage.mustRunAfter(clean)

clean.doLast {
   project.file('app.jar').delete()
}
Setting up application.properties
We have deployed our application, configured database, and build script. Usually when spring boot application starts, it will access all the required variables from application.properties. So I will set up that file as follows:
# ====================================================================================
# = DATASOURCE
# ====================================================================================
spring.datasource.url=${SPRING_DATASOURCE_URL}
spring.datasource.username = ${SPRING_DATASOURCE_USERNAME}
spring.datasource.password=${SPRING_DATASOURCE_PASSWORD}
spring.datasource.driver-class-name=${SPRING_DATASOURCE_DRIVER-CLASS-NAME}
spring.jpa.show-sql=true spring.jpa.properties.hibernate.dialect = ${SPRING_JPA_DATABASE-PLATFORM}
spring.datasource.type=${SPRING_DATASOURCE_TYPE}
spring.jpa.properties.hibernate.jdbc.lob.non_contextual_creation=true
# ====================================================================================
# = Server SSL
# ====================================================================================
server.port = 7443
security.require-ssl=true
Setting up a custom domain
Heroku offers an easy option with SSL, so if you choose that, it is a straightforward approach with Let’s Encrypt to automatically manage the SSL certificate.
Now to set up the custom domain, add your domain and heroku will provide the target DNS server. For your corresponding domain provider, you will add DNS setting for CNAME(for www) and ANAME (root domain). Wait for a few hours for this setting to take place.
Access the application
We are ready to access the application now. Once you have pushed all the required changes to Heroku repository, heroku will build the application and launch it.
Now if we access rentersfeedback.com, we will be able to see the application as follows:
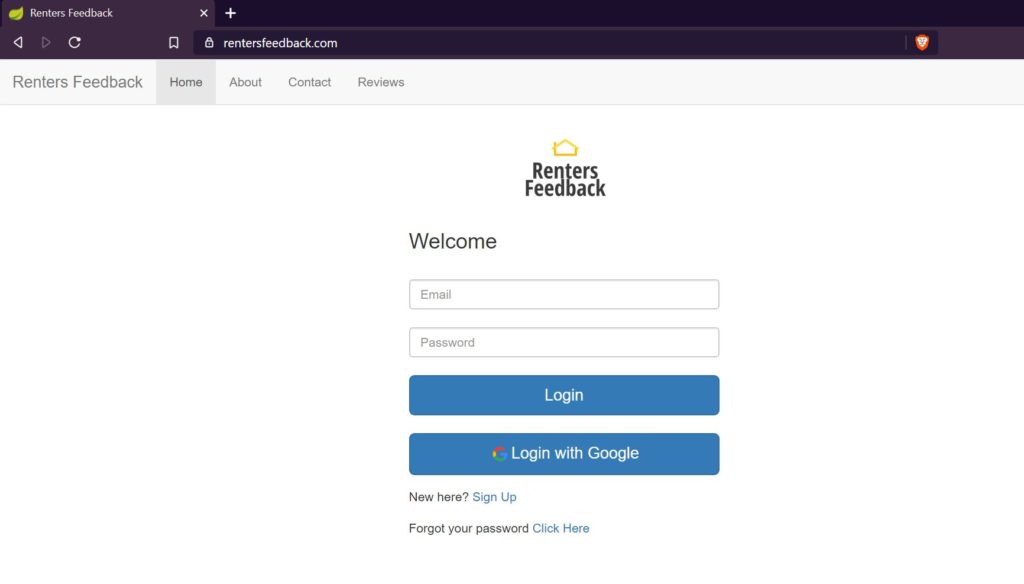
Renters Feedback
References
- Deploying Spring boot application to Heroku – deploy spring boot app
- Deploying Gradle application to Heroku – Gradle applications to Heroku
- Custom domains in Heroku – Custom domains in Heroku
